
Balsa wood processing
If we cut several slats from one thicker board with a knife, we first mark the common length of the slats, if necessary, other necessary dimensions - see Fig. 7. We cut the slats from both sides to make it easier to achieve a rectangular cross-section.
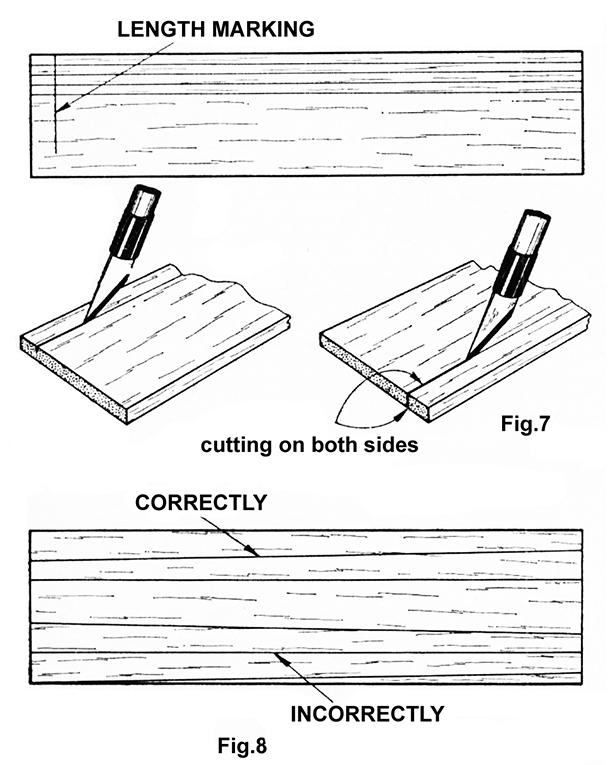
If we cut converging slats (e.g. drains), we will achieve a better result if they have a common slanted base than if we try for common straight sides - see Fig. 8.
Over the years, we only cut thinner boards with a knife (blade); we prefer to cut thicker ones with a fine saw (for metal).
Other ways and peculiarities of the cut can be seen in Figure 9.
| Correctly | Erroneously | |
|---|---|---|
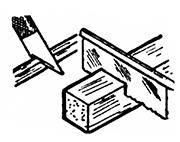 |
Slats of small cross-section are cut with a sharp knife, larger cross-sections are best with a fine saw | 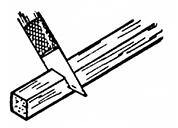 |
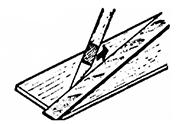 |
If we cut the board diagonally lengthwise, we guide the knife in such a way that the effort to follow the years of the wood keeps pushing it against the ruler | 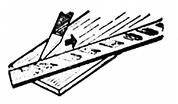 |
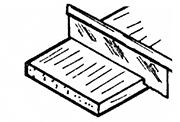 |
Thicker boards are best cut flat with a fine saw | 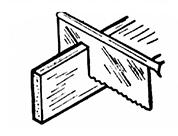 |
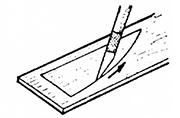 |
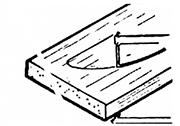
We cut the curved shape with the knife in such a way that the eventual removal of the knife from the cut (after years) points outside the part | 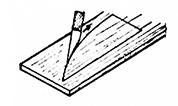 |
 |
We cut parts of the curved outline from a thicker board with a jigsaw with an allowance for sanding | 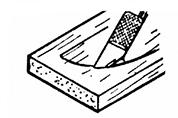 |
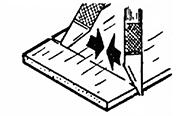 |
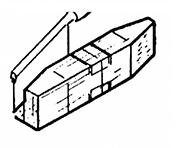
We cut a thin board across the flight from both sides, otherwise there is a risk that a part will tear off at the end | 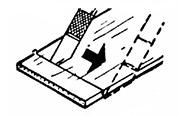 |
 |
We cut as much as possible from the block (e.g. propeller) with a jigsaw, a jigsaw does not guarantee a right-angled cut | 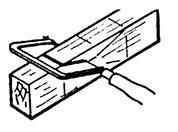 |
Grinding and sawing balsa wood
If you have never worked with balsa before, you can hardly imagine how light balsa sawdust creates dust, makes breathing difficult and settles everywhere. Therefore, try to avoid this work in a room, especially a residential one. Stock it up and always sand outside, in the yard, on the balcony, etc.
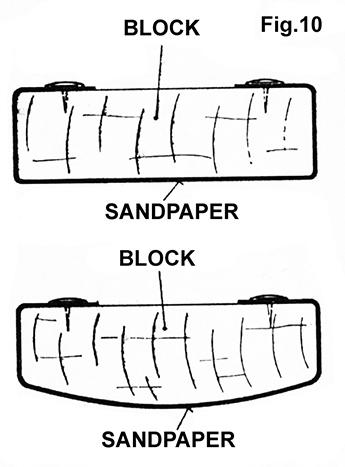
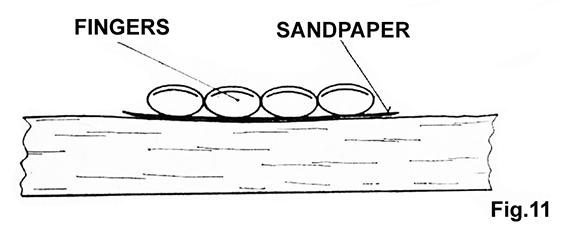
It is best to fasten the sanding material (paper, canvas) to a suitable block (also shaped) made of cork or wood (Fig. 10) when sanding balsa. However, it is important that the base of the block is always flat and that the sandpaper is taut. This is the only way we can successfully smooth out any unevenness of the boards. Do not attempt to grind without a block; you copy all the irregularities, or enlarge them even more - see Fig. 11.
The finer the surface we want, the finer the sanding material we use. However, avoid using too rough papers, as they leave deep grooves in the balsa. If we want to achieve a particularly perfect surface, we moisten it all after smoothing. This will expose the years of wood and smooth them again after drying. We repeat the procedure several times until the surface of the balsa is perfectly smooth. If we are going to cover the balsa with paper, we moisten it with water, but if we are only going to varnish it, we use a thin varnish.
However, it also applies to sanding that "too much of everything is bad". Always try to cut or plan as much as possible first and sand only as much as is absolutely necessary. An example will be a drain bar with a usual triangular cross-section. If we make it from balsa board, the best way to proceed is to first carefully cut as much as possible with a knife (or plan it with a planer), use coarser sandpaper to slightly align the movements across the grain of the wood and only then smooth it out. We varnish the sanded t-bar as little as possible, otherwise it will bend like a bow and even if we straighten it again , we can expect that after the model is coated and painted, it will twist, for example, into an S.
| previous page |
 Piper PA-18 Super Cub
 Sbach 300
 T-28 Trojan
 Messerschmitt Bf-109
 Nakajima Ki-84 Hayate
 Republic P-47N Thunderbolt
 Edge-540
 Cessna 150
 F4U Corsair (Fatty+Normal)
 Grumman F6F Hellcat
 Lavochkin La-7
 Airbus A320
 Curtiss P-36 Hawk

Cartoon Messerschmitt Bf. 109
Cartoon Piper Cub
Lake Clipper Supermarine Spitfire
 Hawker Hurricane
 Curtiss P-40 Warhawk
 North American P-51B Mustang
 2000 mm RC motor glider
 Piper J-3 Cub
 Cessna
 American Champion Decathlon/Citabria
 Extra 330SC
 Flying Wing
 Grumman Goose/Albatross
 MiG-29 Fulcrum
 Slow Flyer
 Hydro Slow Flyer
 RC airboat
 Flying Boat
 Space Shuttle
 PZL-104 Wilga 2000 Draco
 Beechcraft 17R Staggerwing